CS 4600 - Fall 2020 - Introduction to Computer Graphics
Project 4 - Triangular Meshes
In this project we will render a 3D triangular mesh with a texture on the GPU using WebGL.
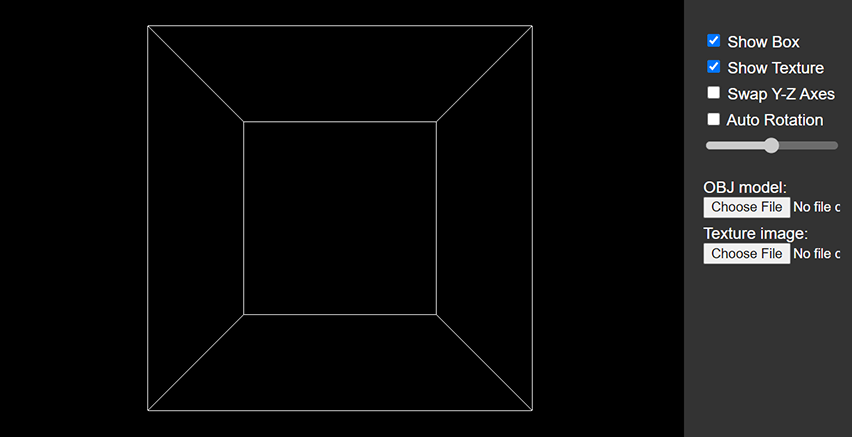
Just like the previous projects, you are given an HTML file that implements the user interface and a part of the JavaScript and WebGL code. Here is a short video showing what the completed project should look like:
The part you will implement can be separated into three steps:
Step 1:
The first step is implementing the JavaScript function that computes the 4x4 transformation matrix, including perspective projection:
function GetModelViewProjection( projectionMatrix, translationX, translationY, translationZ, rotationX, rotationY )
The perspective projection is given to this function as a 4x4 matrix. The purpose of this function is to combine it with the other transformations that include a translation and two rotations. You must discover in which order the transformations should be applied, such that the resulting transformation behaves similar to the one in the video above.
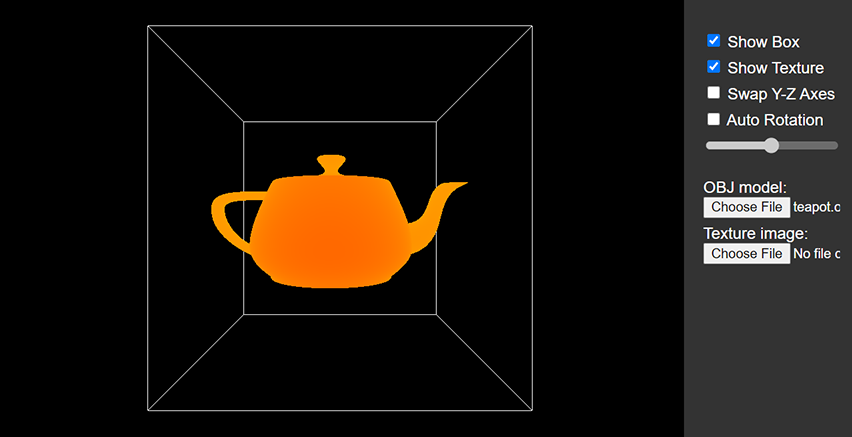
Step 2:
Next, we will render a triangular mesh using WebGL. The triangular mesh is loaded from an OBJ file using the UI. The OBJ parser is already implemented for you. The given code also includes triangulation and scaling to form a triangular mesh that fits inside the box.
We will complete the implementation of the JavaScript class MeshDrawer, which is responsible for rendering the triangular mesh. The constructor of this class is called after WebGL is initialized, so we can handle WebGL related initializations for rendering within the constructor.
The MeshDrawer class includes the following methods:
setMeshthat takes an array of 3D vertex positions and an array of 2D texture coordinates. This method is called every time the user loads another OBJ file, so it can be called multiple times.swapYZthat determines if the y and z axes should be swapped while rendering.drawthat is responsible for drawing (i.e. rendering) the triangular mesh.
The completed implementation of this step will render the object inside the box. You can use the following code in your fragment shader to set the color of the fragment, instead of picking a single color for the whole object:
gl_FragColor = vec4(1,gl_FragCoord.z*gl_FragCoord.z,0,1);
This code adjust the green channel of the color based on the distance of the fragment from the near plane of the camera projection. You can experiment with other formulations.
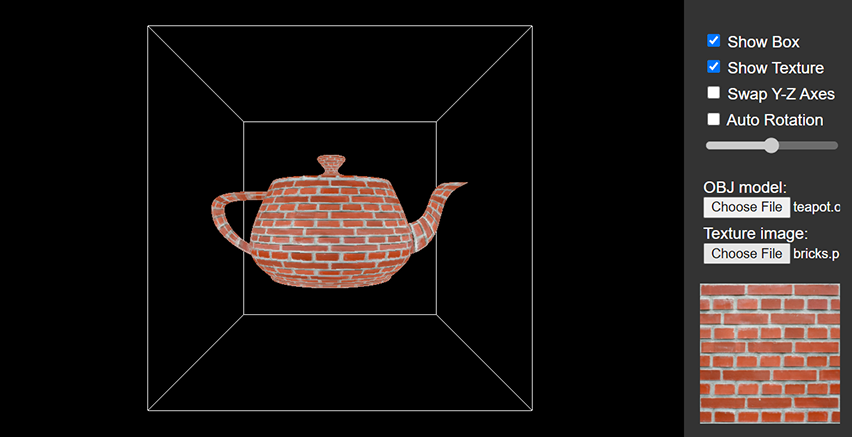
Step 3:
The last step is displaying a texture on the mesh. To facilitate this, the MeshDrawer class also includes the following methods:
setTexturethat is called to set the texture of the object.showTexturethat is called to specify whether the texture should be displayed.
You are given the following files to help you with this project:
- project4.html: This file contains the implementation of the interface and various JavaScript/WebGL functionalities.
- project4.js: This file contains the placeholder of the JavaScript function
GetModelViewProjectionand classMeshDrawerthat you will complete. This file is included by project4.html. - obj.js: This file implements the OBJ parser and it is included by project4.html.
- teapot.obj: A polygonal mesh version of the Utah Teapot.
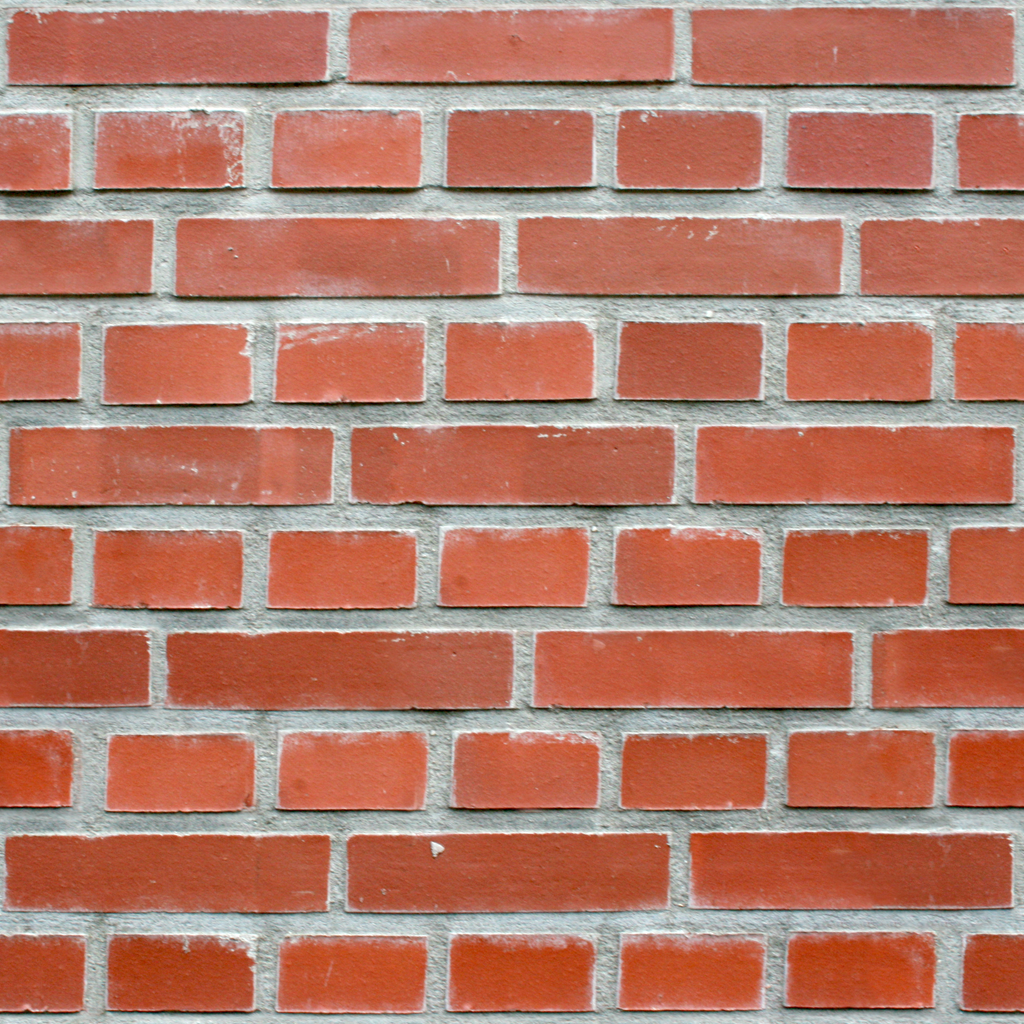
- bricks.png: A texture image you can display on the Utah Teapot model.
- nyra.obj: A character model by Paul Tosca.
- nyra.png: The texture to be displayed on the nyra.obj mesh.
_